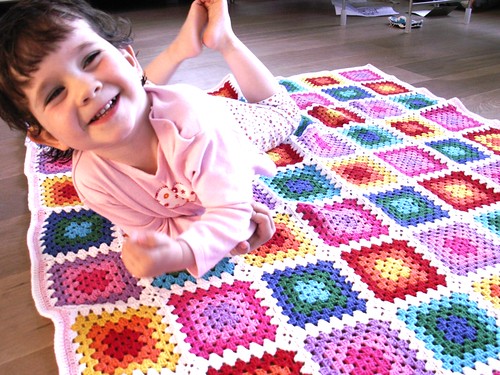
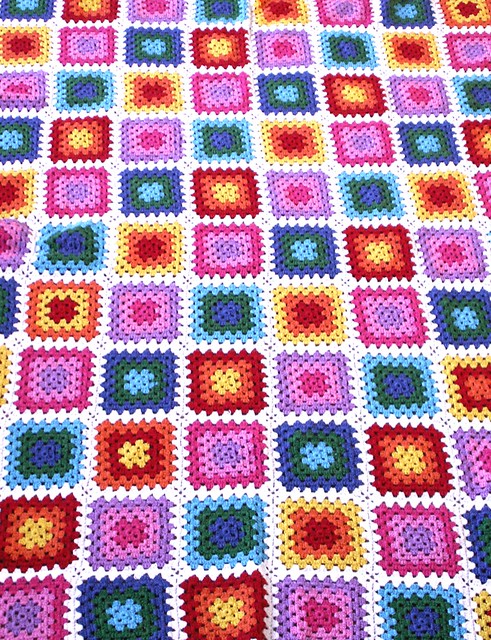
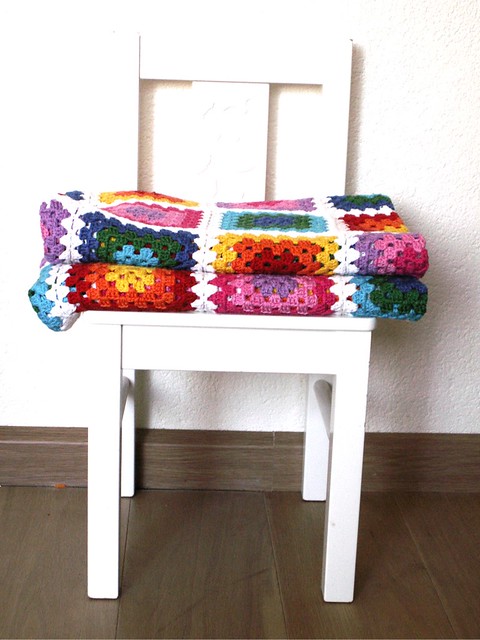
It has been finished for a while now, so I thought that it could be fun to show you how it turned out! It's really fun and colourful, and the munchkin loves it!
I've started a new one, as a gift for a friend... More on that one later!
29 mei 2011
28 mei 2011
Pink!!!
Our across-the-street neighbours had a baby last week. She is beautiful and her name is Anne. In The Netherlands, it is customary to place a sign in your front yard announcing the name of the baby. They chose to decorate their living room window with a huge sticker of a teddybear on a moon. So cute!
It is also tradition to eat "beschuit met muisjes" (rusk with an aniseed topping) when a baby is born. I really don't like that, so I decided to make them a cake instead. I used the sticker as my inspiration, and I made a pink cake. And I do mean PINK! Even the spongecake and filling were pink! I was very proud of my teddybear cake!
24 mei 2011
Mini photo album tutorial
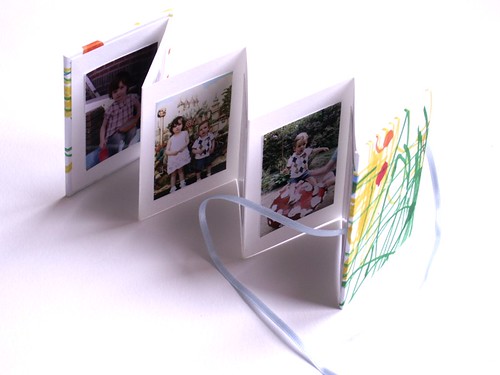
Next month is Fathers day. I never know wat to get my own dad or my husband, so this year I decided to make something that I know they will treasure with some help from the munchkin. A mini photo album that you can carry with you while you are travelling or that you can use as a photoframe on your desk! How cute is this?
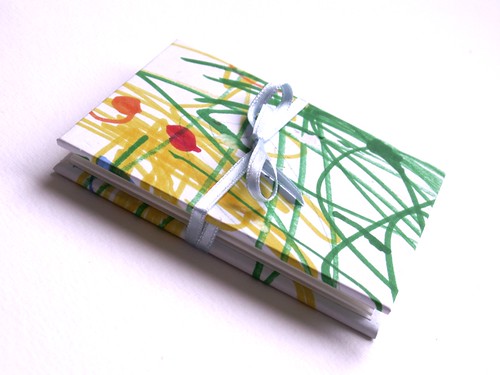
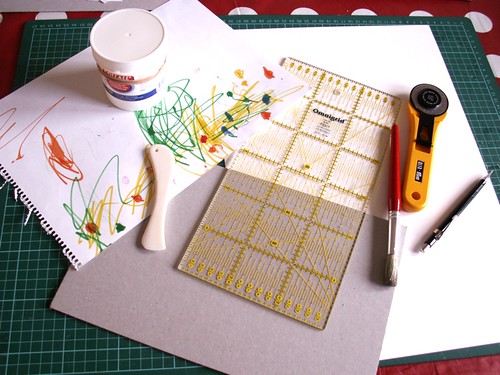
You can make your own! You will need:
A large sheet of cardstock (mine was 30 by 40 cm)
A piece of greyboard
A gorgeous artwork from your kids
Small photos
Bookbinders glue
A ribbon
Knife
Paper knife
Ruler
Cut a strip of cardstock at 8 cm wide.
Use your paper knife to make a crease every 6 cm apart. Fold the first crease to the front, the second to the back, the third to the front etc.
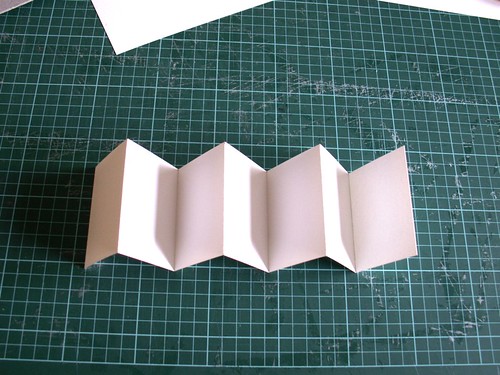
Cut the greyboard to two pieces measuring 8,5 by 6,5 cm.
Cut a piece of artwork approx 12 by 10 cm. Put glue on the back of the artwork, right up to the edges. Place the piece of greyboard on the artwork. Cut the corners at about 5 mm of the corners of the greyboard.
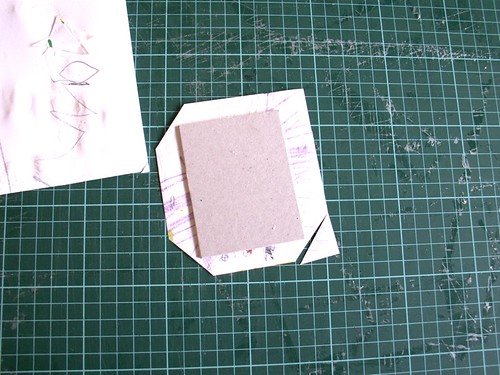
To make neat corners, fold the short sides overe the greyboard. Push the corners inside. Fold the long sides over.
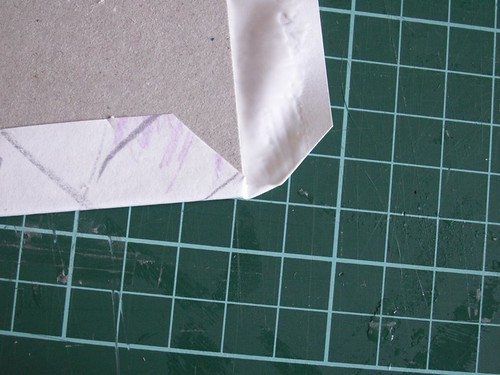
Glue the middle of the ribbon to the greyboard. Put glue on the last flap of your cardstock and glue it to the greyboard over the ribbon.
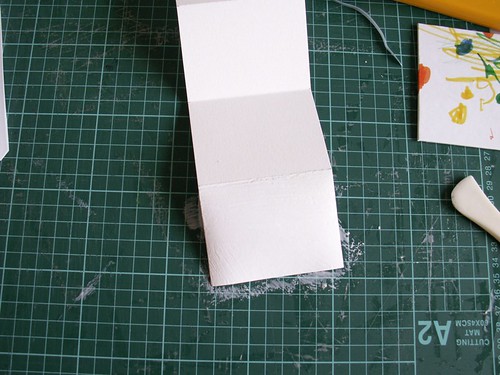
Do the same with the other piece of greyboard and artwork, but without the ribbon. Fold the album closed and place it between two books on your bookshelf so it can dry flat. Leave it there for at least a few hours.
Glue the pictures inside and voilà! A cute, neat little fathers day gift! Or a mini wedding album, or a mini baby album... Or a little album with holiday snaps to remind you of sunny beaches at the office... Whatever you want!!!
21 mei 2011
Pick a giveaway winner tutorial
This morning we (yes, I had an assistant) picked the giveaway winner! The only problem... How to be fair? So we decided on a raffle...
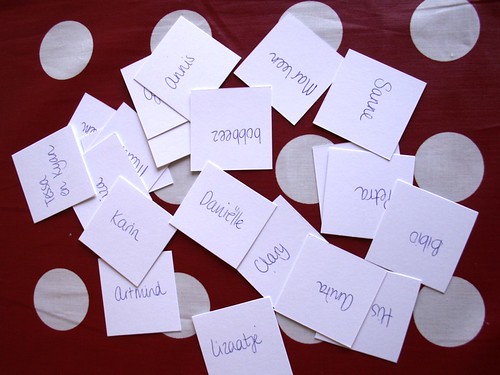
I cut some cards for the names...
Then I wrote down the names on the cards...
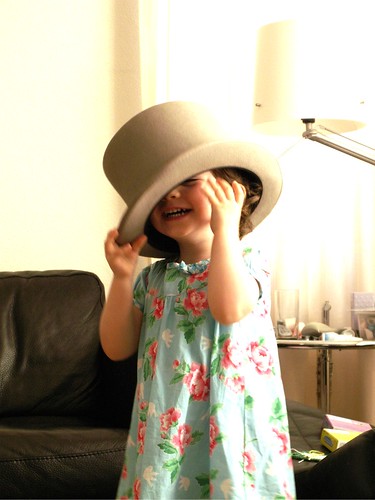
All the names went in the top hat (that my husband wore at our wedding)...
And my lovely assistant picked a card!
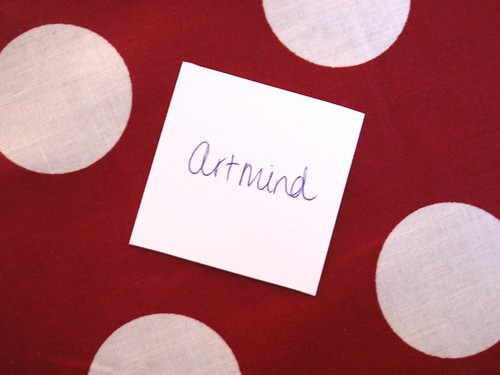
And the winner is....
Congratulations Artmind! Please e-mail me at maaikee@yahoo.com with your address!!!
Afterwards, my lovely assistant had a great time playing with the hat!
Thank you all for joining the giveaway... Better luck next time!
Next up: a tutorial for a cute fathers day gift...
20 mei 2011
Best invention EVER
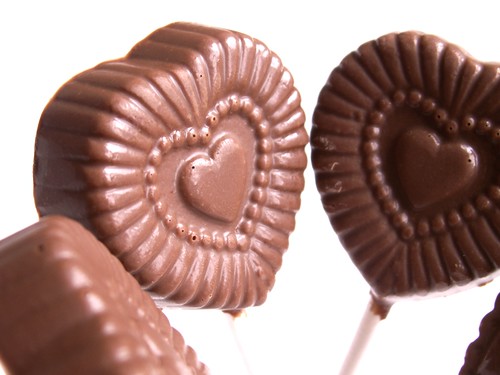
The best thing EVER for young moms: chocolate treats on a stick! The munchkin loves, loves, loves chocolate, just like her mommy and daddy. She never gets any, not only because I want her to be healthy, but also because of the mess she makes with her sticky chocolaty hands and face... So I got myself some candy molds by Wilton and some lollipop sticks, and I went to work.
In the past I tried to work with chocolate, but tempering is a very intricate process, that always resulted in soft, mushy chocolate. So today I cursed a little and tried something new... And it worked! So now I have some chocolate pops that are shiny and crunchy! And they look nice, too...
Today is your last chance to enter the cookie giveaway! Leave your comment here!
18 mei 2011
New toys and their first use...
16 mei 2011
New shop giveaway!!!
Yay! I told you you'd get your chance to try my cookies... And now you can!!! I just opened my second Etsy shop filled with all kinds of yummy cookies! Or maybe just with some of the cookies I shared with you. So if you want to try them, you can go to http://www.mjammie.etsy.com/ !
And what is a shop opening without its own giveaway???
If you want a free small box of cookies, just leave a comment on this message. On friday I will pick a lucky winner!!!
And what is a shop opening without its own giveaway???
If you want a free small box of cookies, just leave a comment on this message. On friday I will pick a lucky winner!!!
15 mei 2011
New toys
Yesterday the new batch of cookie cutters arrived that I ordered from De Taartenfee. and I love them! I can't wait to try them... Do I start with the balloon, or the train, or the cupcake? Or the Gift, the babybottle or the ice cream cone? Oooooh, it's just too much to choose from!!!
13 mei 2011
The gift of... Eh... Food?
10 mei 2011
7 mei 2011
Dinner tonight
5 mei 2011
My new car
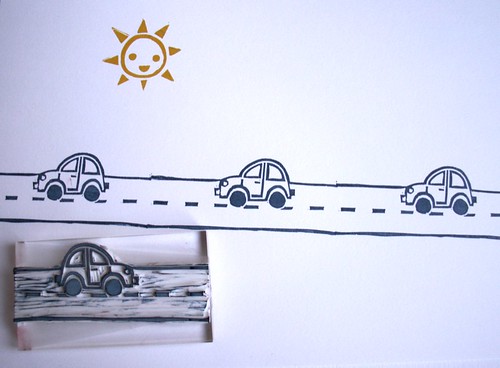
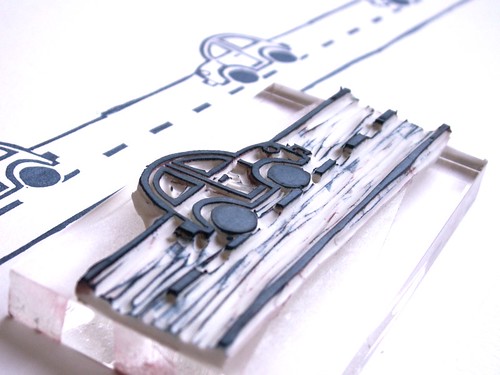
For some time now, I wanted to make a stamp with a recurrent pattern. So I made myself a car. That you Can use over and over and over! Especially with this tree and these houses, and a sun... I could stamp myself an entire street!!! How cool would that be to wrap your gift!!!
4 mei 2011
Happy birthday Daan!
2 mei 2011
Mothers day cookies
No, I didn't forget that I promised you a stamp carving tutorial, I've just been busy with a little girl who is clearly in her "terrible two's" and my still-not-perfect cookie obsession!!! Since I can't fix my little girl (we'll just have to sit this one out) I decided to tackle the cookies...
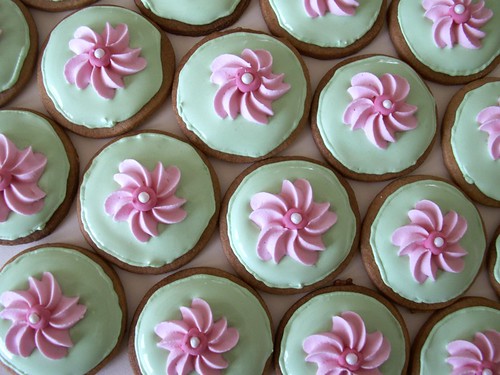
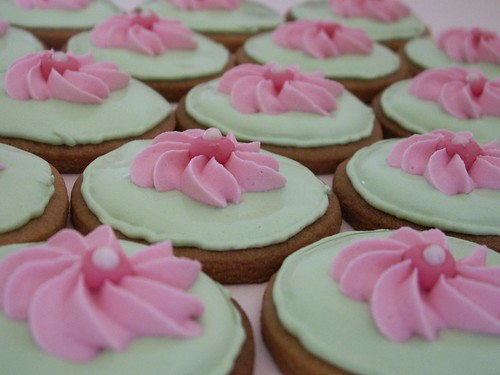
And yes, I finally found the perfect way to bake them!!! With a hint of almond and vanilla and some marshmallow flavour in the icing... Yummy!!! The decorating is getting better too... In this picture, I used dropflowers I made some time ago to make them pretty. I think they look sweet!!!
1 mei 2011
And the winners are...
The bird on the branch of flowers! Judith, congratulations on the winning idea!
After random picking(I asked my husband to give me a number) the winning voter is Suus Geniet!
To the winners: congratulations! Please send me an e-mail at maaikee@yahoo.com! And to the dear readers who didn't win: the stamps will be in my Etsy shop tomorrow. And just for the Blog readers: a free shipping coupon code! When checking out, use inspiration2011 for your discount! Free shipping will be available until May, 15 2011.
I will be launching something new soon, with another giveaway. So stay tuned!
Abonneren op:
Posts (Atom)