
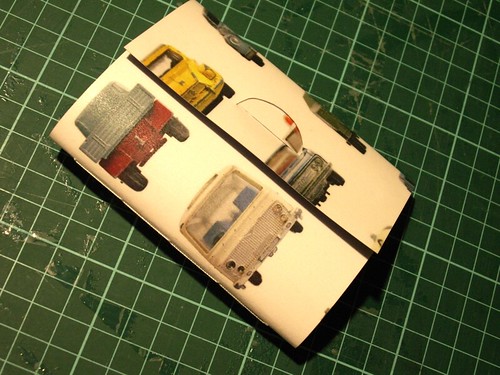
Cool, huh? Now you can make your own! Make one for small ideas, for quotes, or just for your grocery lists! Recipes work well too... Use ads fron your favorite products as covers or pages from an old cookbook! Make a travel journal from your outdated atlas! The possibilities are endless!!!
Take out your laminating machine, a laminating pouch, two pieces of beautiful paper (I used two pages from my favorite magazine) and five sheets of plain paper. You van also use paper with lines, whichever you prefer. You'll also need a ruler, a needle, some floss or thread and a knife or scissors.
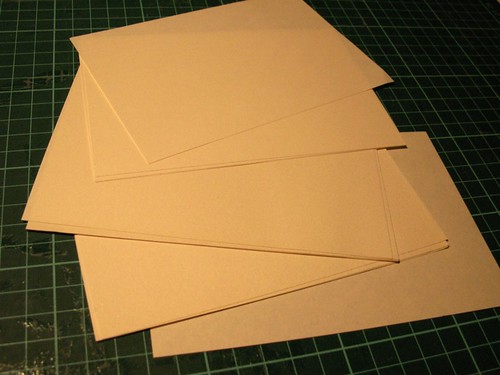
First off, cut the paper into small pages, 10 cm by 15 cm. Stack the pages.
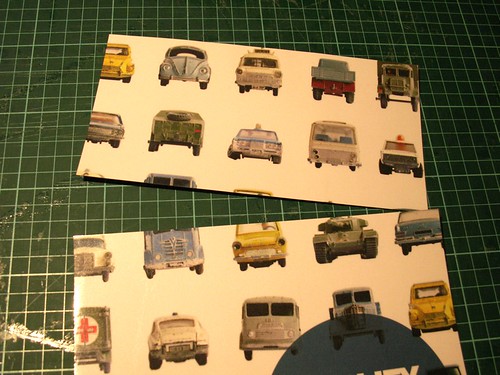
Laminate the two pages the same way you do with the ipad sleeve: place the pages wrong sides together in a laminating pouch and laminate them. Cut the laminated pages into strips, 21 by 10 cm.
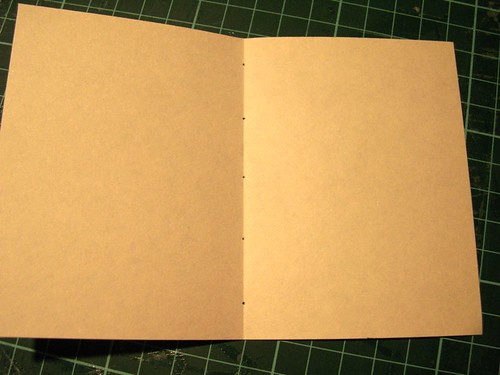
Take the top page and fold it in two. This will make sure that you punch the holes in the center of the page. Punch a hole through the page on the line using the needle, on 1 cm onder the top of the pages. Punch a next hole 2 cm below that one. Another 2 cm lower another one 2 cm below that one and a last one 2 cm lower, this one will be 1 cm above the bottom of the page.
Place the page back on the stack and put the stack on the left side of your laminated cover. Punch again in the holes, now punching through all the pages at once.
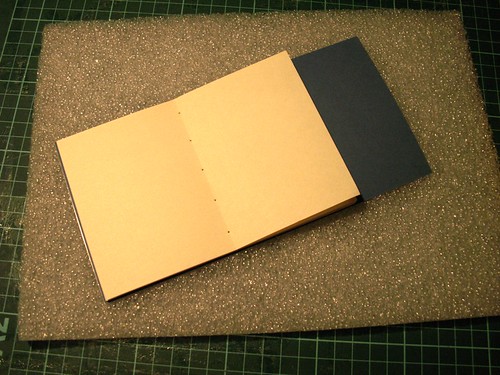
Thread the needle. Start sewing the pages together from the middle of the book, pull your needle through the stack and back through the next hole. Turn when you reach the end. Make sure that the thread is pulled tight and tie a knot in the middle of your page, where you started sewing.
Fold the book on the sewline. It will help your book to close easier if you leave it in between two heavy books for a night.
Cut a half circle and a slot in the cover.
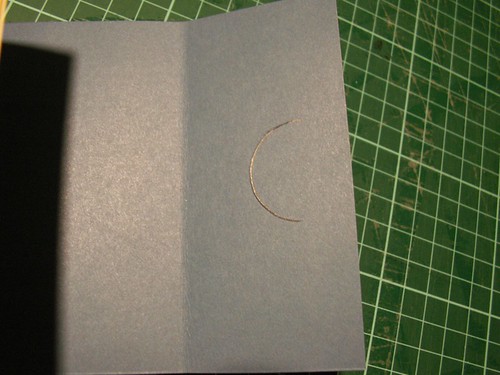
Fold the flap over, closing your notebook, use the needle to make markings where the slot should be, punching a small hole in the cover in the corners of your half circle. Open the book and make a cut between the two holes. Slide the half circle in the slot and have fun with your new mini notebook!!!

Ha Maaike,Je maakt mooie dingen! En deze ga ik zeker zelf een keer maken!
BeantwoordenVerwijderenOh wat leuk! Ik ga je linken onder mijn to-do-lijstje, als je het goed vind.
BeantwoordenVerwijderenOh..
BeantwoordenVerwijderenik vond de autootjes ook al zo leuk.
Wist alleen nog niet zo goed wat ermee te doen.
Super leuk idee dit!
OMG! This is what I want to do!! Pregnant, full of great ideas and wondering what to do besides taking care of my baby. This is it!! Your an inspiration en motivator.. -If there is a will, there is a way.- Thanks so much. It's all so great, so lovely and so creative! All the best to you!
BeantwoordenVerwijderen